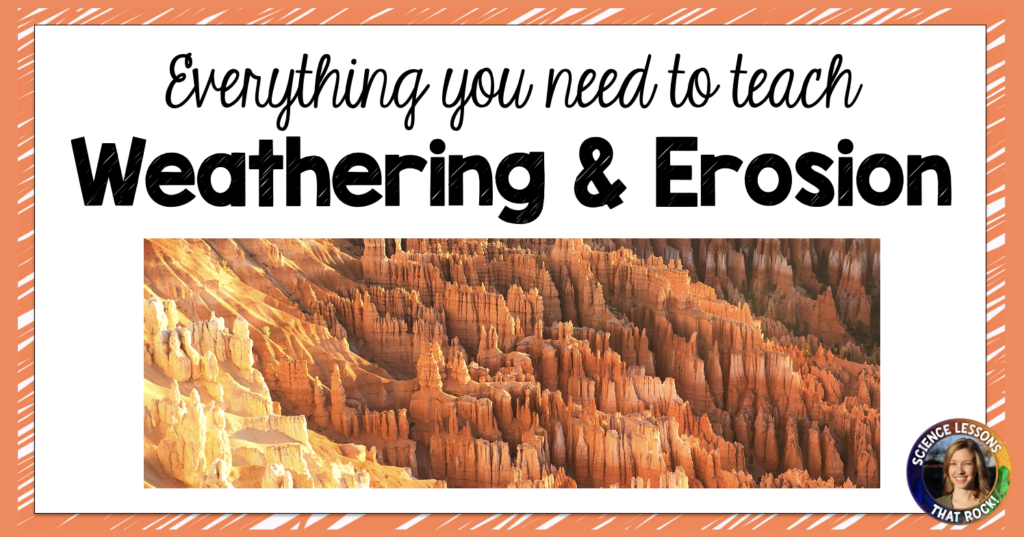
Weathering and erosion is not a difficult process for students to grasp. They have likely seen it first hand many times in their life. In my experience, students sometimes mix up the difference between weathering and erosion, but once they have it down the learning is smooth sailing. One thing I do to help students remember the difference between the two is by using the rhyme: “Weathering breaks, erosion takes, deposition makes.” If you want to have a visual to hang on the wall, check out this poster set.
Below are some resources and ideas you can use throughout the unit!
ENGAGE: Pique student’s interest
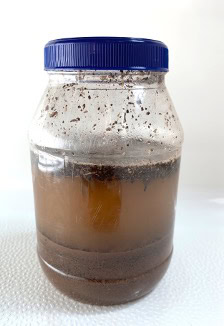
SEDIMENTATOR: Here’s an easy one! You can purchase sedimentators online, but you can also easily build your own: Get an empty clear container with a lid (could be an old peanut butter jar, mason jar, or even a screw top test tube). Fill the container with different sizes of sediment: gravel, course sand, and fine sand or silt. Add water until the container is mostly full and tightly screw on the lid. Place a few around the room and allow students to play with the jar. If they give it a good shake, what do they notice? What happens when the jar has time to settle? What does this have to do with processes happening outside?
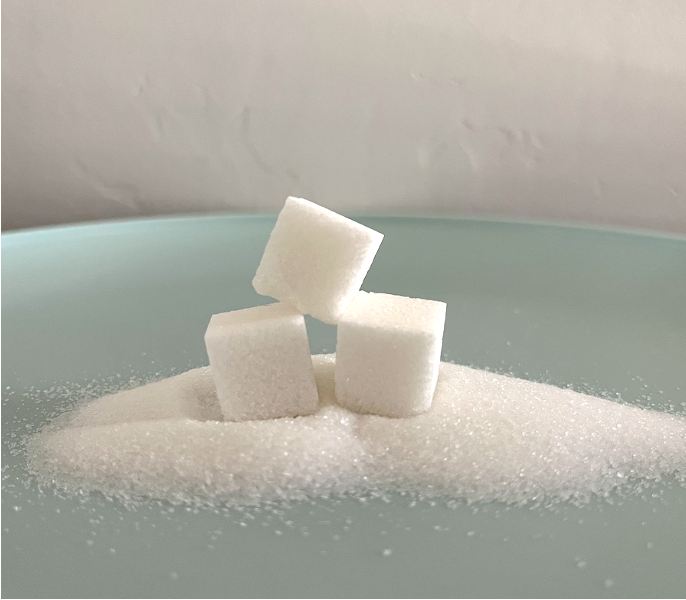
SUGAR CUBES: One fun way to kick off the unit is by using sugar cubes. (Surprisingly, it seems like many of my students have never seen sugar cubes before and they get really excited to play with them!) Put students in pairs and give them a sugar cube. Pose the question- How many ways can you break down the sugar cube? Their first instinct will likely be to hit it or hammer it in some way. Some students may try and shake it or rub it across a surface, and a few students might even suggest using water (or their tongues) to dissolve it. The more creative they are, the better! After they are done experimenting, show them a sand sample. How did it form? How might the process of sand formation be similar to what was modeled today?
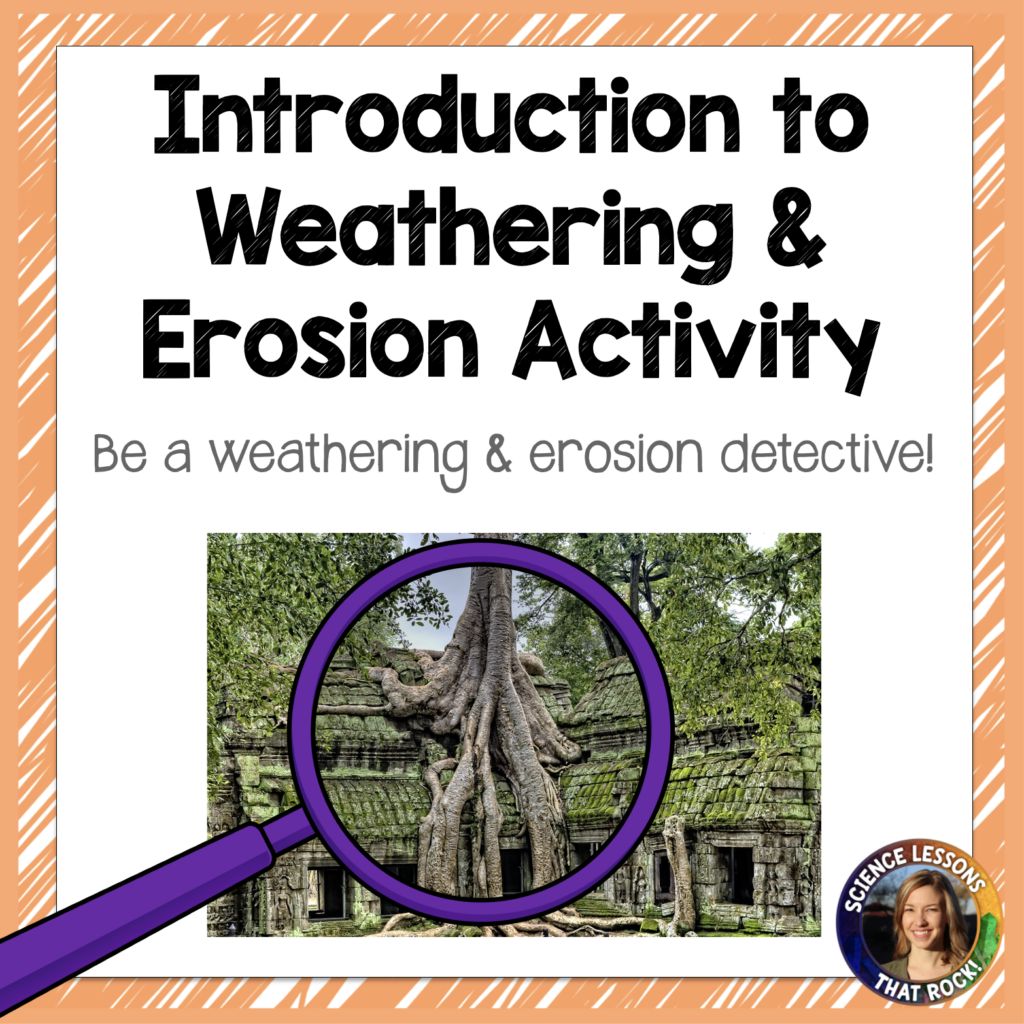
WHAT HAPPENED HERE? This activity is designed to get students thinking about the concept of weathering and erosion, and help you identify any misconceptions they might have. In this digital activity, students examine 8 images and answer the question… “What happened here?” The images take students to places like Arches National Park, Glacier National Park, and Carlsbad Caverns. They will need to ponder how these landforms came to be and explain it in their own words. The lesson comes in both Powerpoint and Google slides format. You can find it on TpT or on my website.
EXPLORE: Explore the processes of weathering and erosion
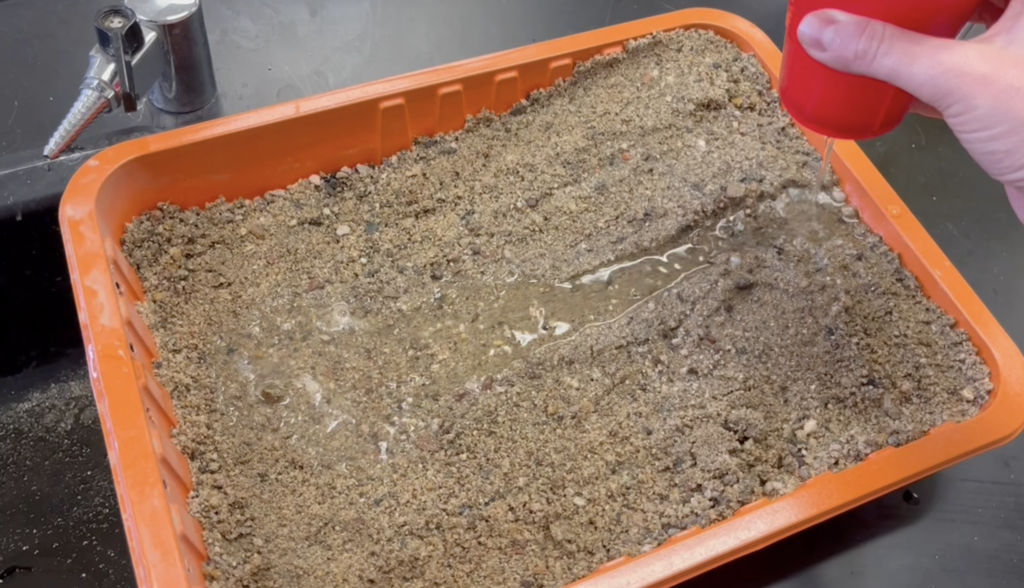
STREAM TABLES: If you have access to big stream tables, they are fun to explore! Students can see erosion happening before their very eyes and understand the process of stream formation. Since stream tables can be pricey, I would recommend having your school purchase one large one you can demo up front, and building small ones for students out of paint roller trays. You can find a tutorial on how to build them here. Students can learn about channel formation, meanders, and even glacial erosion using ice cubes.
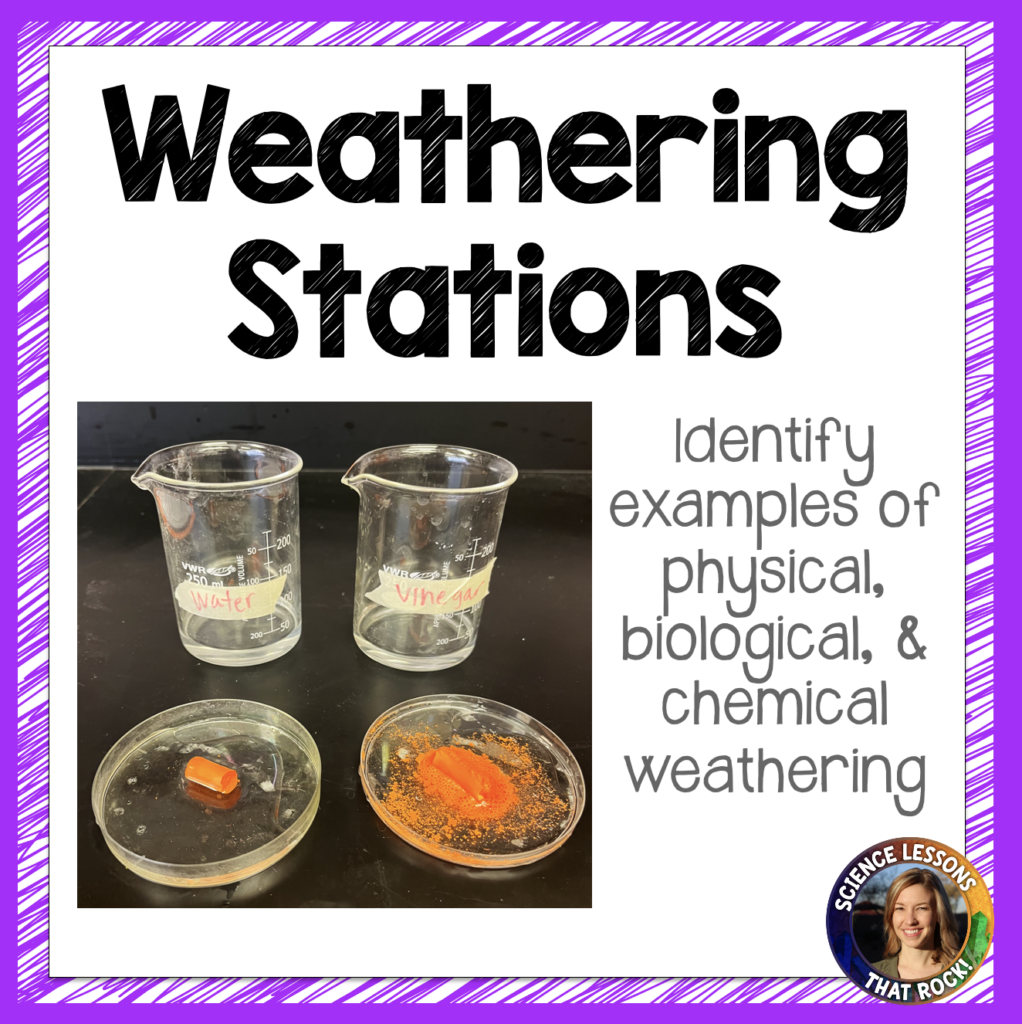
STATIONS: Are you a fan of stations? I love that they are interactive and get students up and moving around the classroom. Here are a set of 6 stations I created and used with my students to help them visualize the different ways weathering can occur. You can find them on TpT or on my website.
EXPLAIN: Have students show you what they learned
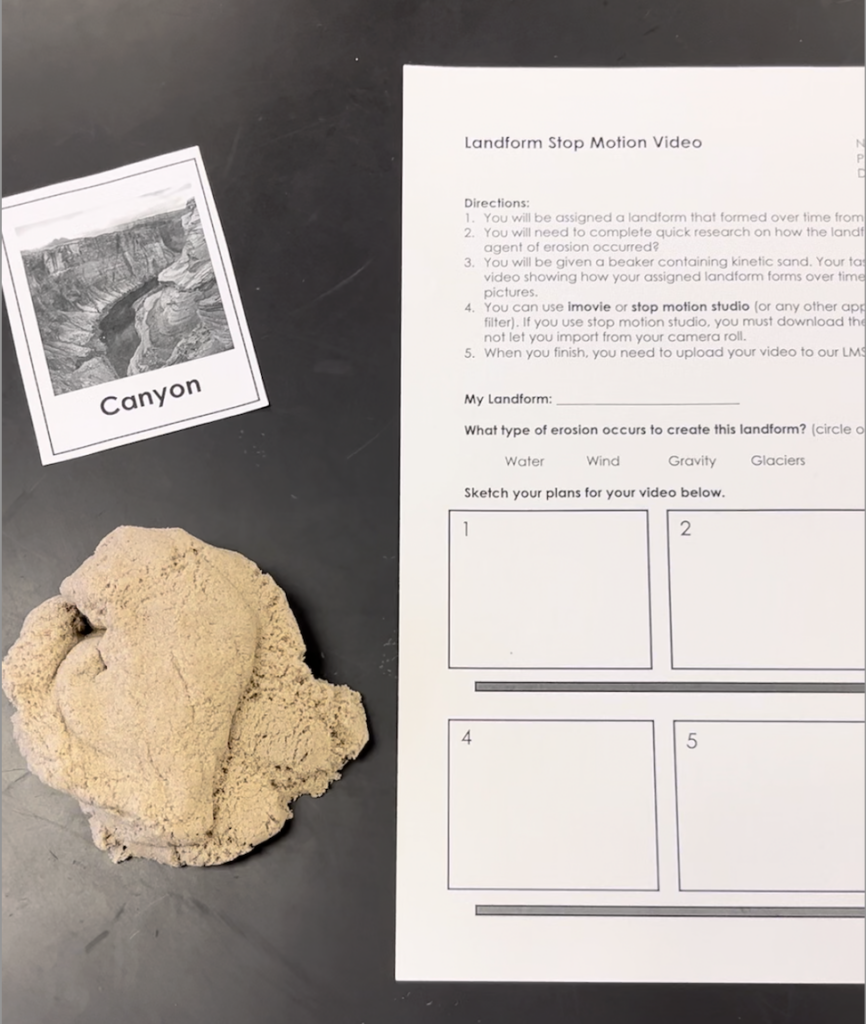
STOP MOTION: Have you ever done stop motion with your students? If not, you should definitely try it! Be sure to check out this Youtube video with all my stop motion tips.
In this activity, I gave students some kinetic sand and assigned them a landform. They had to model the process of landform formation using kinetic sand and show which mode of erosion caused the process. You can also use play doh or clay, but kinetic sand is great because it looks like real sediment and never dries out! You can find the activity handout on TpT or on my website.
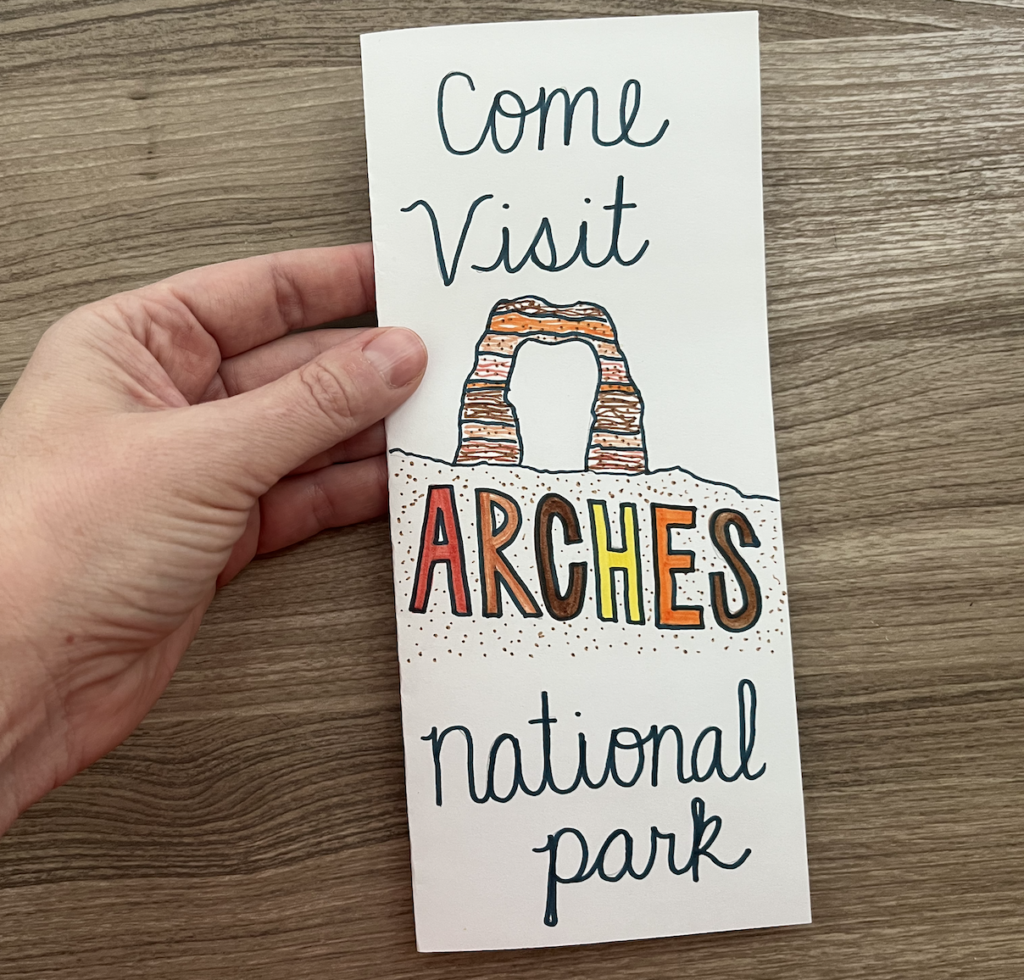
TRAVEL BROCHURE: Many students haven’t had the opportunity to explore national parks or cool geologic destinations. Give them the chance to learn about these places by creating a travel brochure! Provide students with a list of destinations such as Arches National Park, Tonto Natural Bridge, or the NaPali coast. Have students research the area and create a travel brochure for potential visitors. You can find it on TpT.
ELABORATE / EVALUATE: Time to assess!
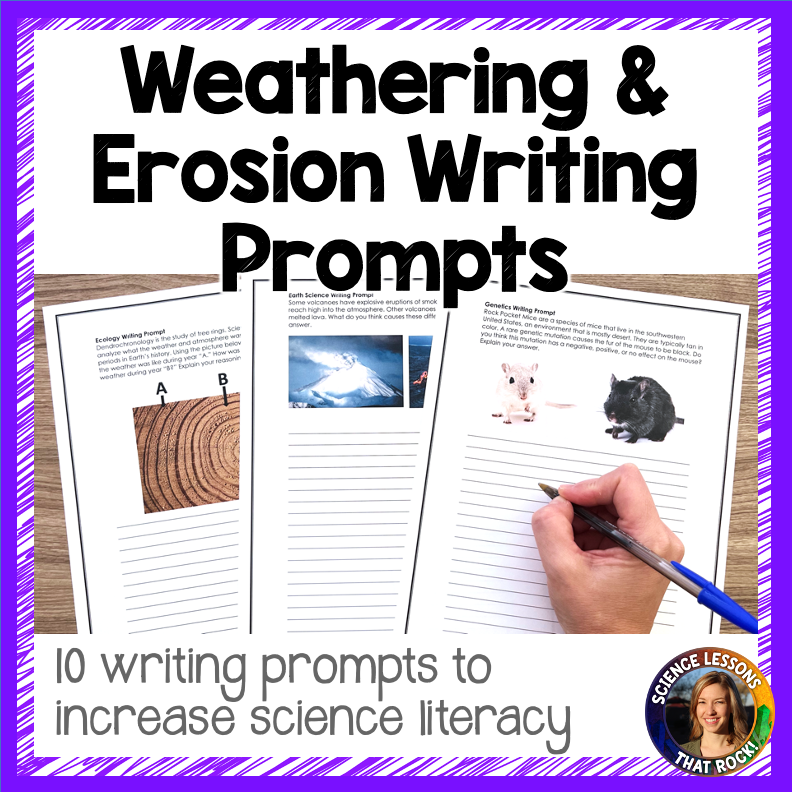
WRITING PROMPTS: Living in an era of short text messages and bad grammar, I’m always looking for ways to get students writing. Here are 10 open ended writing prompts you can use to get students to practice their science literacy skills. You can find them on TpT or on my website.
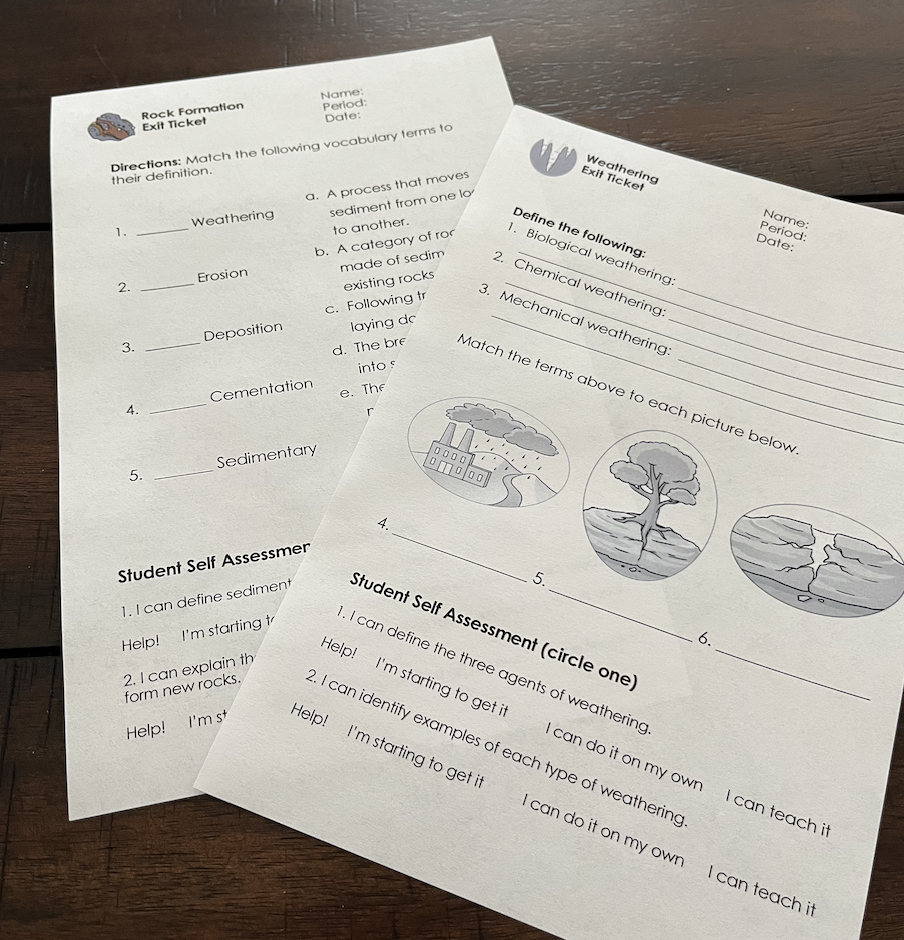
EXIT TICKETS: I’m a big fan of non-generic exit tickets that ask specific questions and allow students to really show what they know or where they still have gaps in their understanding. Be sure to check out these FREE exit tickets you can use to assess student understanding throughout the unit! You can find them on TpT or on my website.
If you are interested in multiple lessons listed, you may be interested in this bundle! You can save 20% by purchasing the large bundle.
Rock on,