If you’ve scoured the internet looking for fun Karyotype activities like I have, you know they are few and far between. Most activities involve students cutting out 23 chromosomes, finding the homologous pair on a worksheet, and gluing them together. This activity ends with paper scraps everywhere, missing chromosomes, and frustrated students.
I have searched around and came up with a list of my favorite karyotype activities. I have included a mix of lessons, hands on activities, and computer interactives for you. Here they are!
Karyotype Teaching Resources
- Start off with a simple powerpoint lesson on what a karyotype is. You can download a free one here!
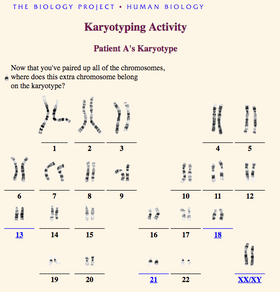
2. On U of A’s website, there is a virtual karyotype activity with 3 patients. Students need to click on each patient, fill in the missing homologous chromosome, and give a diagnosis for each patient. You can check out the website by clicking here.
(For whatever reason, U of A likes to change the hyperlink. If the link is broken, just google “U of A Karyotype Activity” and it should pop up).
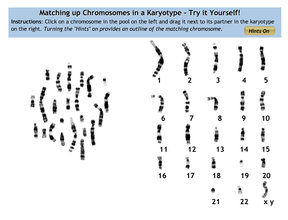
3. In this virtual lab from University of Utah, students pair up the chromosomes on the left with their homologous pair on the right. It’s a bit harder than the U of A one, but there is a hints option if students get stuck.

4. When the human genome project was completed, the genes on each chromosome were mapped out and they came out with these nifty (and free!) science posters. On their website, you can click on any chromosome, print out the pdf, and have students observe what traits are found on each chromosome. I printed out a few and had students look for traits they have or traits that run in their family.
5. Have you had your genes tested? I sent in a spit sample to 23 and me to see not only my ancestry but my health report as well. Students were really interested to see what the report looked like and what genes I carry. (Note: If you order a kit, make sure to snag the 10% teacher discount).
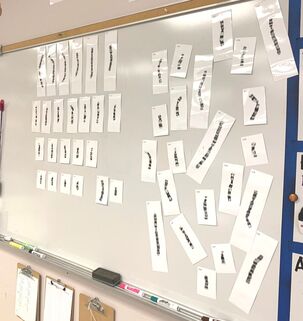
6. I asked my school to order these giant magnetic pictures of human chromosomes from Ward’s Science (you can purchase them here). Students were able to come up to the front whiteboard where I had 23 of the chromosomes lined up. Their task was to arrange the homologous chromosomes and decide if it is a male or female, and healthy or abnormal.
I love these magnets because they can be used throughout the whole unit, not just for this lesson. You can use them when discussing cell division as well and model how they line up during metaphase. They are large, easy to see, and students love coming up to play with them at the end of class.
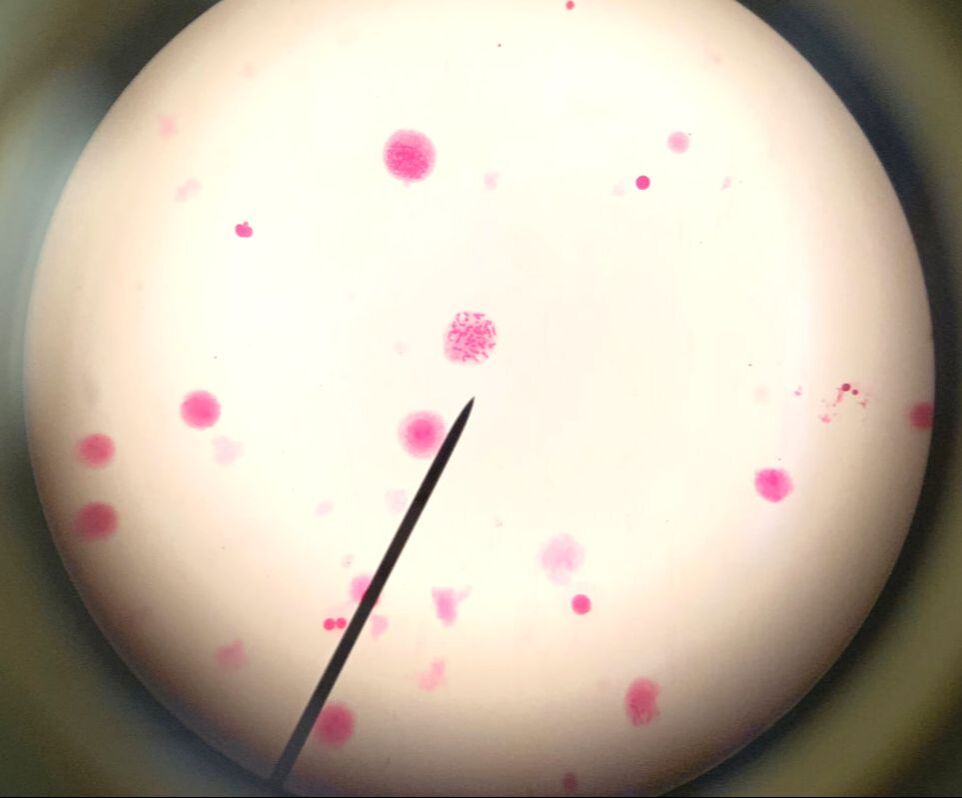
7. I love any excuse to get out the microscopes outside of my cells unit. You can order human karyotype microscope slides from a company like Wards Science. Students will be surprised how small the chromosomes are! (The picture shown is on 100x magnification). They will quickly see that in real life, pairing up homologous chromosomes and looking for abnormalities is not nearly as easy as it looks on the virtual labs.
8. I incorporated a lot of these activities into stations, and had students rotate around the room completing them. If you would like to check out the stations, you can find them on my website, or purchase them on TpT.
Rock on,


