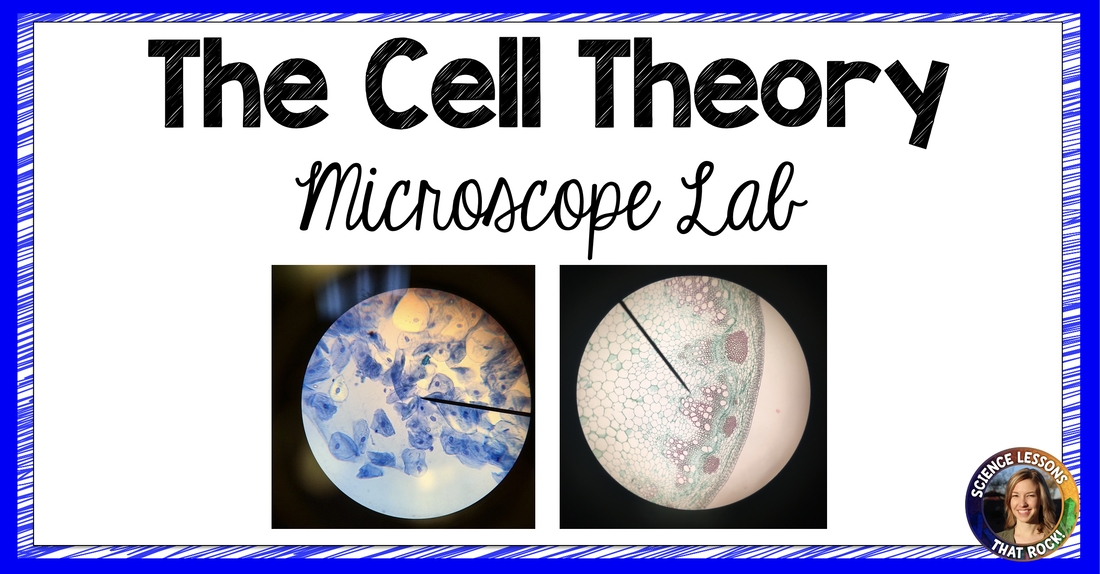
I like having students actually SEE what these scientists discovered (yes, you will need microscopes). In this cell theory microscope activity students will observe cork cells like Hooke, pond water like Van Leeuwenhoek, plant cells like Schleiden… you get the idea.
- A minimum of 5 compound microscopes.
- Prepared slide of cork, or make your own. (Tip: if you are making your own, make sure to shave off a VERY THIN slice).
- Prepared slide of animal cells (any type), or make your own wet mount of cheek cells.
- Prepared slide of plant cells (any type), or make your own wet mount with elodea or onion skin.
- Prepared slide of cells undergoing mitosis, or make your own wet mount with onion root tips.
- Pond water sample, or make your own by using a hay infusion method.
To carry out this activity, you have two options depending on the materials you have available.
OPTION 1: Have students travel around the room
This option is for teachers that have limited materials (ie: you don’t have a class set of microscopes or time to make a ton of wet mount slides). Prior to students entering the room, you will need to set up 5 stations around the room, one for each scientist. When students begin the activity they will be assigned a station to begin at, so only a few students will start at Hooke. If you have the microscopes already set up and pre-focused, students won’t need a ton of time at each station. All they will have to do is observe and complete their drawing before rotating to the next station.
OPTION 2: Have students stay in their seats and work through the scientists chronologically
For this option you will need a class set of microscopes and slides. This option is ideal because students get to start at Hooke and work their way through. Students will first view cork cells (Hooke), pond water (Van Leeuwenhoek), plant cells (Schleiden), animal cells (Schwann), and dividing cells (Virchow). If your students know how to make wet mounts, this option is a breeze to set up since they will do most of the work for you. Students will observe the slides under the microscope, make drawings of what they see, and write down observations about each cell type.
While this lab can take a bit of prep work, it is WAY more engaging than simply having students take notes on each scientist. You can find this activity on my website or on TpT.
Following the activity you can show students this Youtube clip titled “The Wacky History of the Cell Theory.” It’s a fun one. If you follow up this lesson with the topic of “why are cells so small?” you might want to check out this lab.
Hope your students enjoy! Rock on,


