Moon phases. Some students catch on right away, while others seem to NEVER get it. (Heck, sometimes I even second guess myself). You’ve tried worksheets, the flashlight and styrofoam ball demo, video clips, and it still isn’t sinking in.
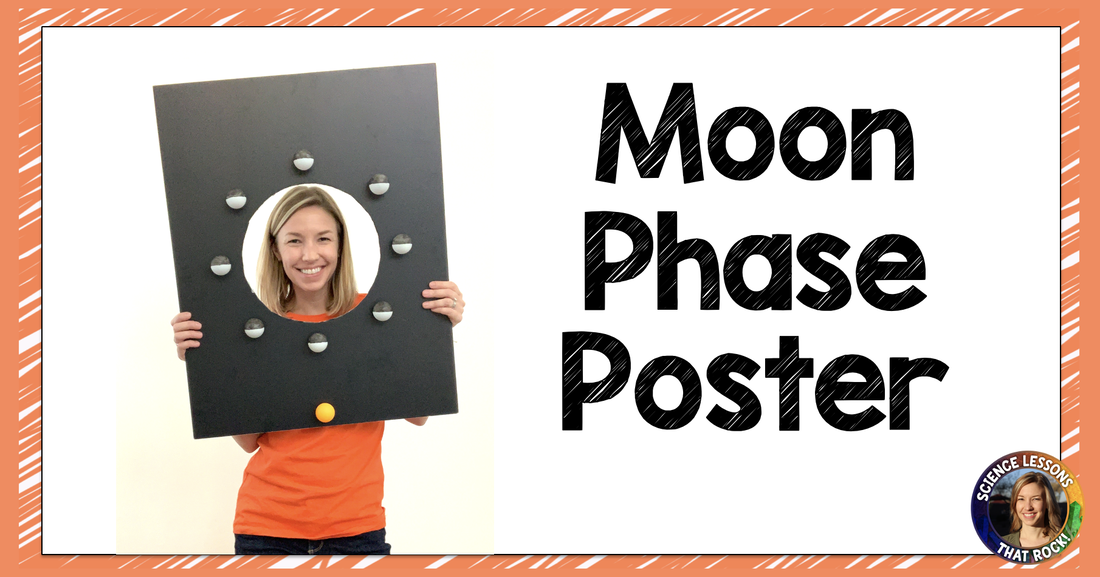
Here is something new you can try: make a moon phase poster they can stick their head in, spin around as the Earth would, and PHYSICALLY SEE what the phases look like from each point of view. So many “ah-ha!” moments with this one!
How to assemble:
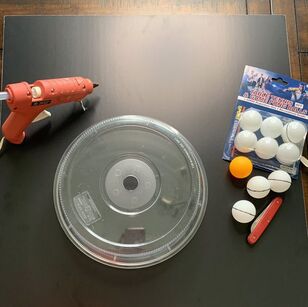
1. Begin by tracing a large circle in the center of the foam board. Flip a small trash can over or a large mixing bowl. Cut out the hole with a pocket knife so you have a large round hole in the center. (Tip: the bigger the hole, the better. Your students will be sticking their head through here eventually, and you don’t want their eyes to be right up next to the ping pong balls).
2. Grab 8 white ping pong balls and color or paint exactly half of the ball black. These will represent the moon.
3. Glue the “moon” balls around the circular hole to represent its orbit. Make sure the white sides of the balls are all facing the same end of the board, where sunlight would be shining from.
4. Optional: Glue on a yellow or orange ping pong ball to represent the sun. This will need to be on the side of the board where the white sides of the moon balls are facing. If you don’t have another ball to use, you can draw in big arrows with a silver sharpie to represent the direction of the Sun’s rays.
Time to play!
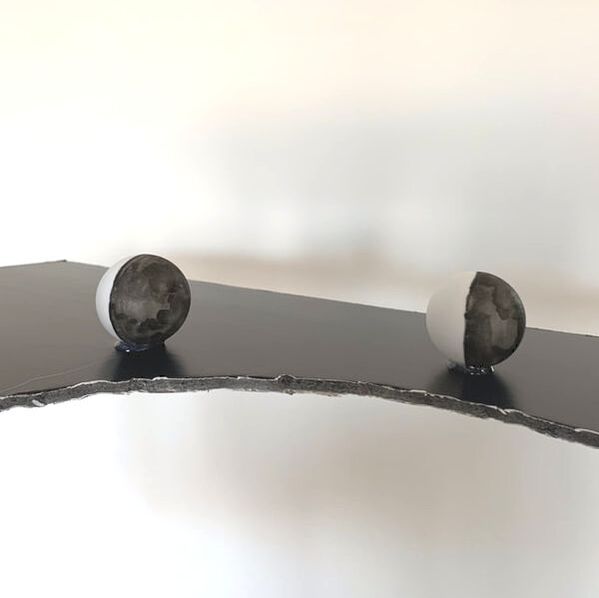
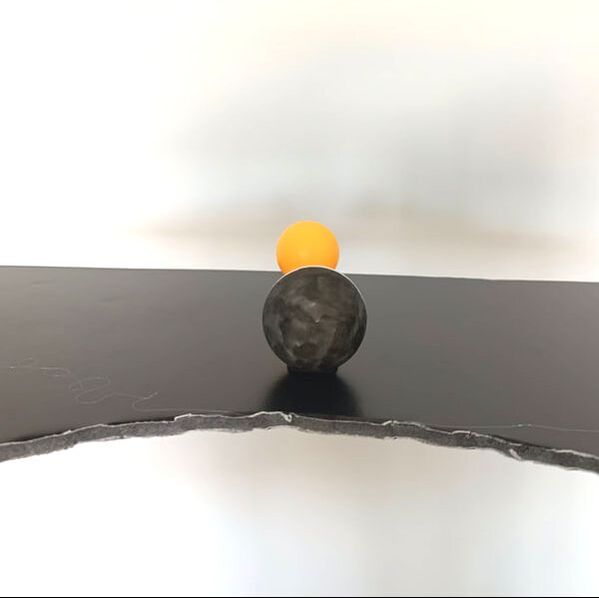
Have students stick their head into the hole. As they turn the board slowly, they will notice the white (visible) part of the moon changes. Below are some images of what students would see:
All in all this board cost me around $6 to make and will last for many years. I think it is really worth the investment!
Rock on,

