As fun as prepared slides are, students always LOVE looking at living organisms under the microscope. I generally order mixed protist specimens from Wards or Carolina Biological, but this year I didn’t get an order put in on time (if your district is like mine it often takes months to get things ordered and delivered…) Since I didn’t have anything for my students to look at, I decided to make a hay infusion. It turned out great for what I needed.
Why make a hay infusion?
PROS:
- It was super easy to set up (directions below) and didn’t cost me a cent.
- It was full of protists that the students could spot quite easily.
CONS:
- There was very little biodiversity. If you want your students to see a variety of organisms, you will have better luck ordering samples.
- It stinks. You will have to endure the smell for about a week.
How to set up a hay infusion
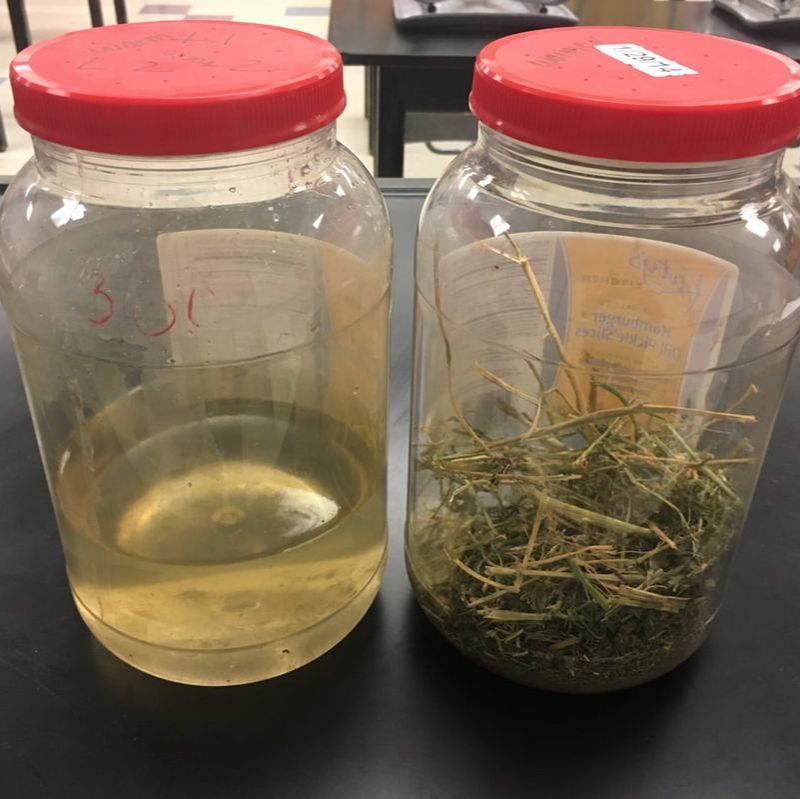
- My school is in an area that has some local farms. I stopped at one of them and asked if I could pick up some scrap hay from the ground. They were more than welcome to let me take a handful. You really don’t need much. If you don’t have hay, straw also works well. I’ve also just grabbed some grass clippings after the grass was mowed and it still worked well!
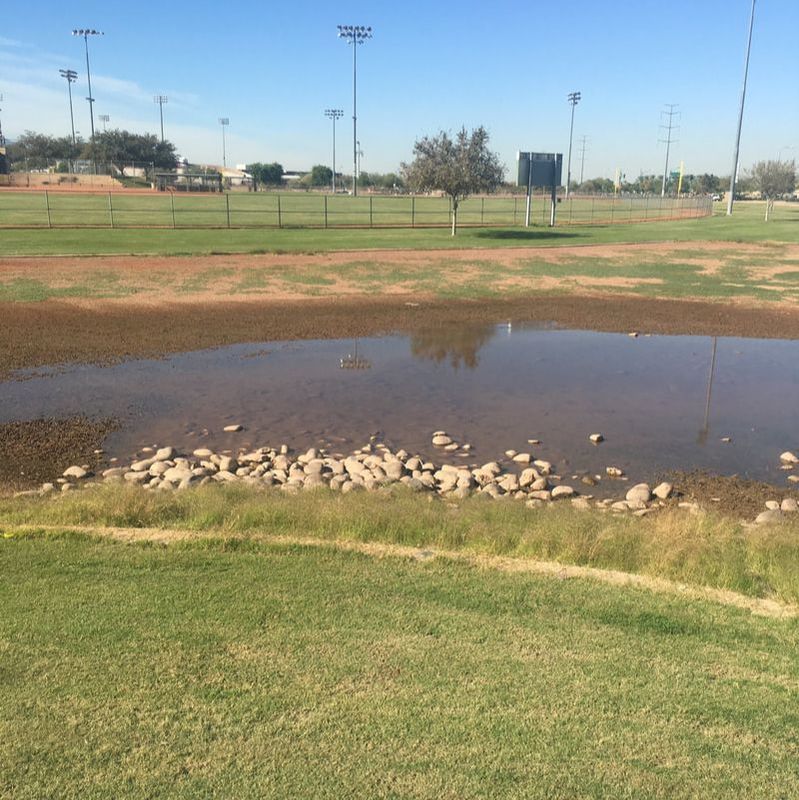
- Next to the school was a small drainage area that had some water sitting in it for about a week. I took a bucket, scooped some up, and mixed it with the hay. If you don’t have pond water access, use tap water, NOT distilled water. Distilled water is hypotonic compared to the protists and they can burst. Tap water will work, but will take longer than the pond water to get a good colony growing.
- I added a pinch of yeast and a pinch of sugar to get things started. Sugar is food for the yeast, and yeast is great food for the protists to feed on.
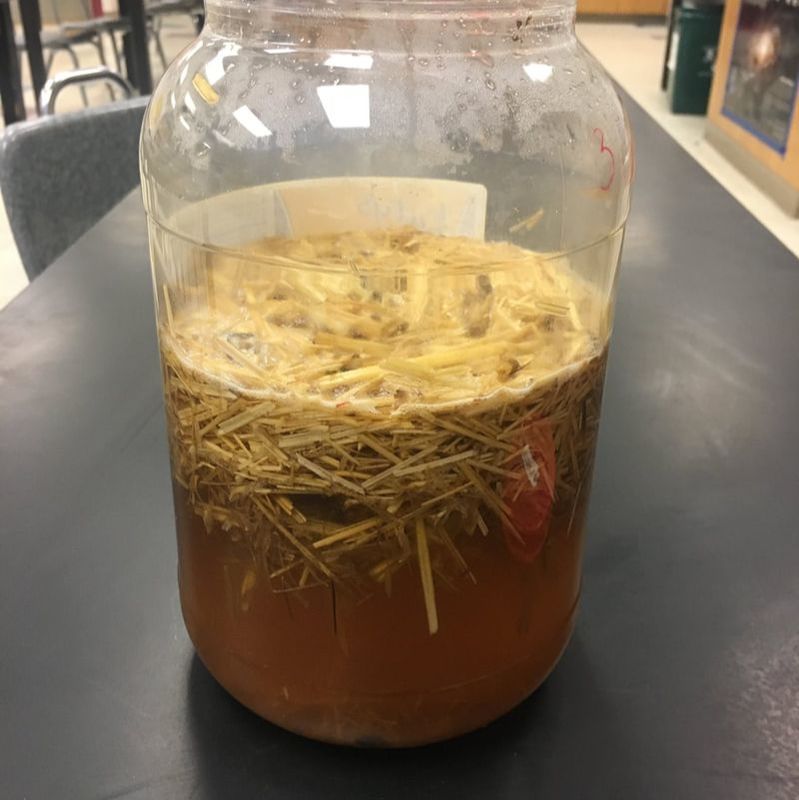
- Let your hay infusion sit for a few days (I let mine sit for a week before using it). It didn’t smell too pleasant after 2 days, so I left it in the back storage room. Check on it after a few days and see if you have growth. I’m told that the types of species change over time as some populations out-compete others.
- Before using the hay infusion, have your students practice using the microscope with prepared slides. If students are comfortable with how to focus and scan, it makes it much easier when they are looking for things that are swimming around. We began the class with learning how to set up a wet mount slide using an elodea leaf. Once they got the hang of it, they cleaned their slide and took a sample of the pond water.


Here is what students saw on low 40x magnification:
and medium 100x magnification:
Although there weren’t a variety of species to see, students were still pretty excited to see them swimming around. I wasn’t able to identify which type of protists we had- if you had honors or AP students it might be fun to give them a protist dichotomous key and see if they can figure out which species they find. Overall it was a success and didn’t cost me a cent!
I hope that guide helps you have a successful microscope day! If you want other tips and tricks for using microscopes with students, check out these other blog posts!
Rock on,


